
Less than four months have passed since Call of Duty Black Ops 6 was released for PC, PlayStation, and Xbox, Oct 25, 2024. In that time, Activision and Treyarch have already released two new Zombies maps in addition to the two original launch maps. Call of Duty Zombies fans have gotten to follow the Terminus crew as they search for answers about the Sentinal Artifact and look to stop Richtofen’s plans. On Tuesday, January 28th, 2025, Treyarch released the latest Zombies map The Tomb. In less than twenty-four hours after its release, The Tomb main story Easter Egg had been solved. Below, is our short no-nonsense guide on how to complete the Call of Duty Black Ops 6 The Tomb Easter Egg.
Step 1 – Open Pack-a-Punch & Craft the Ice Staff
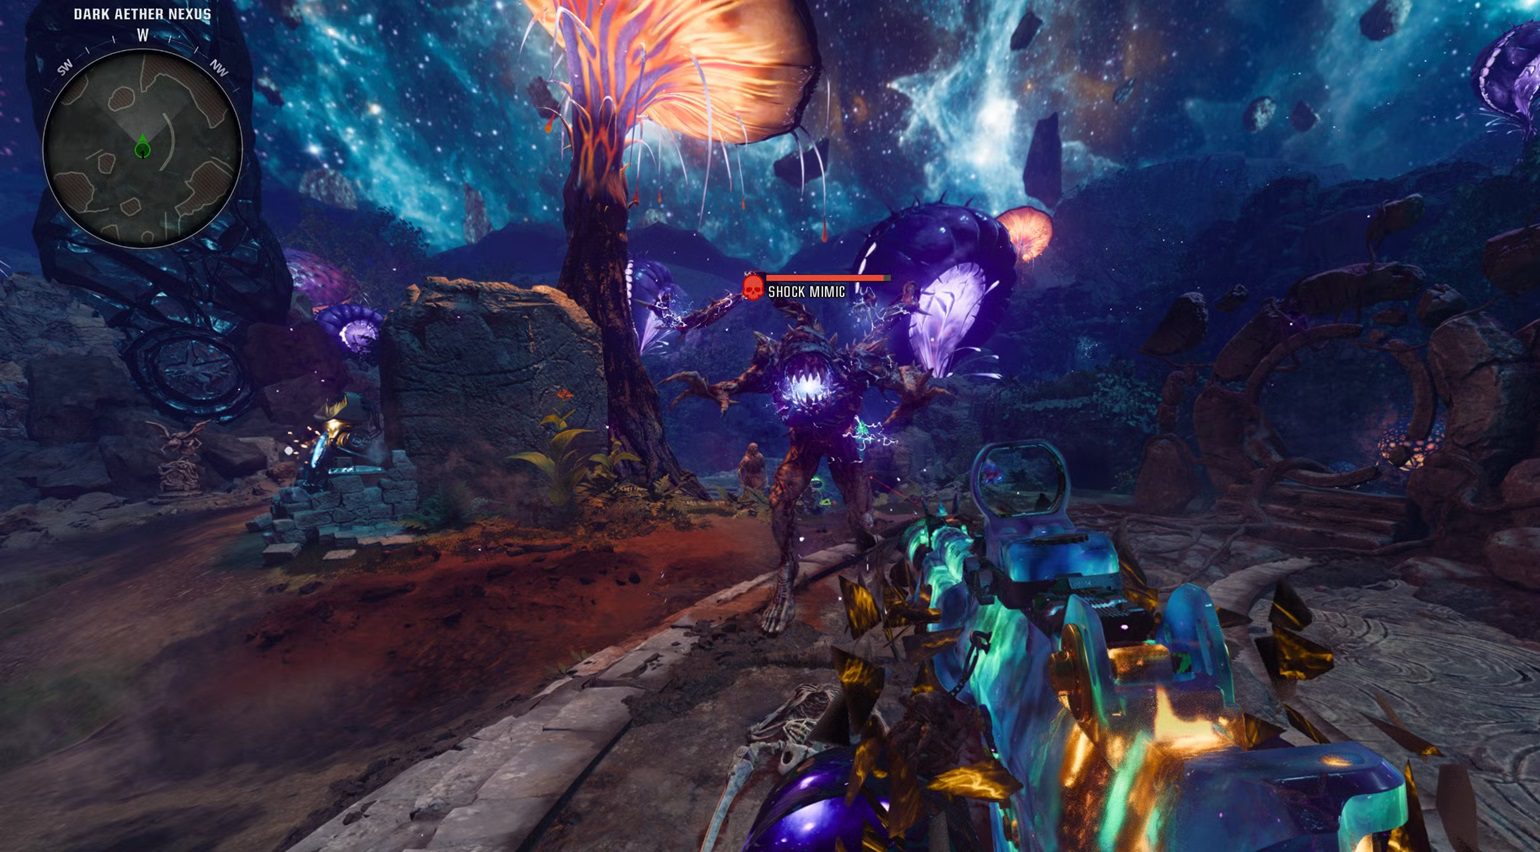
In order to start the main Easter Egg, you will need to open up Pack-A-Punch in the Dark Aether (The Weird Place). After you open up Pack-A-Punch, you will need to obtain the Ice Staff; in order to get the Ice Staff, you will need to either get it from the Mystery Box or Craft it. In order to craft the Ice Staff, you will need to progress to round 8. At round 8, the Shock Mimic will appear; after slaying the Shock Mimic, he will drop a Key Item called the Monocle. Pick up the Monocole and head to the tombs.
Shoot the glowing lanterns (Purple on non-colorblind) in the tombs. Shoot the lanterns until the flame is across from the Bull vs Spartan mural. Once the flame is across from the Mural, the bill will glow within the bull section showing different symbols; these symbols are a modified version of the Roman Numerals and you will need to shoot them in ascending order. Once all eight symbols have been shot, a lockdown phase will begin; by surviving the lockdown phase, you will earn a staff part.
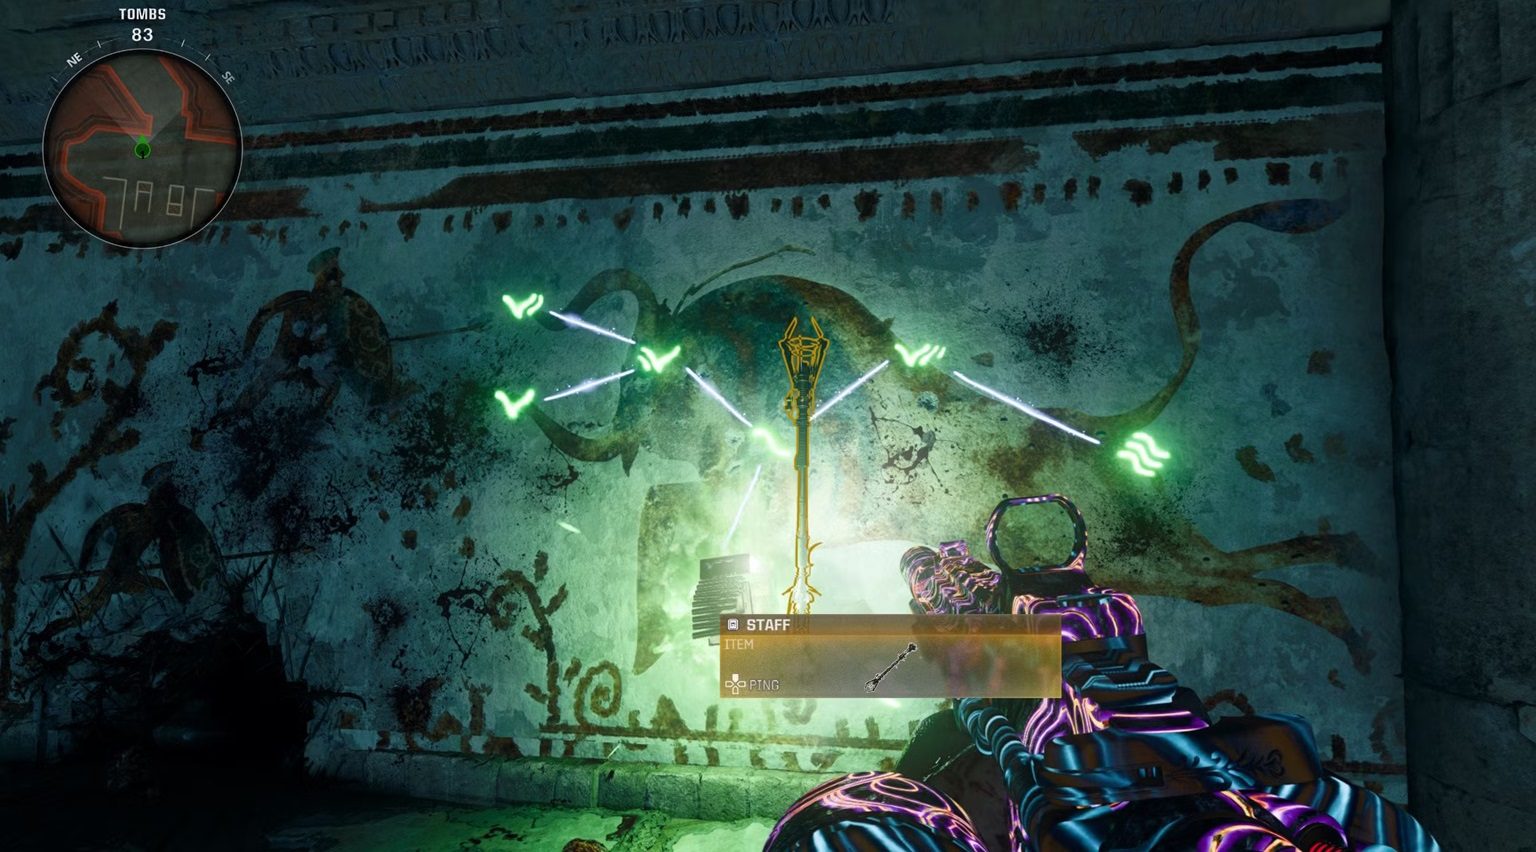
Heading to the catacombs, you will see a painting to the left of the crafting bench. Do the same thing you did before with the pull mural and then shoot the symbols once again. Lockdown will begin once again and after surviving it, you will obtain the Ice Staff Head Piece. With all three parts in your possession, you can now craft the Ice Staff.
Head to the Dark Aether and go to the center arch, interacting with the arch to start the crafting procedure that will start another lockdown. Rather than just surviving, you will need to defend the staff as well. Once you have done that, the Ice Staff will become available.
Step 2 – Upgrade the Ice Staff
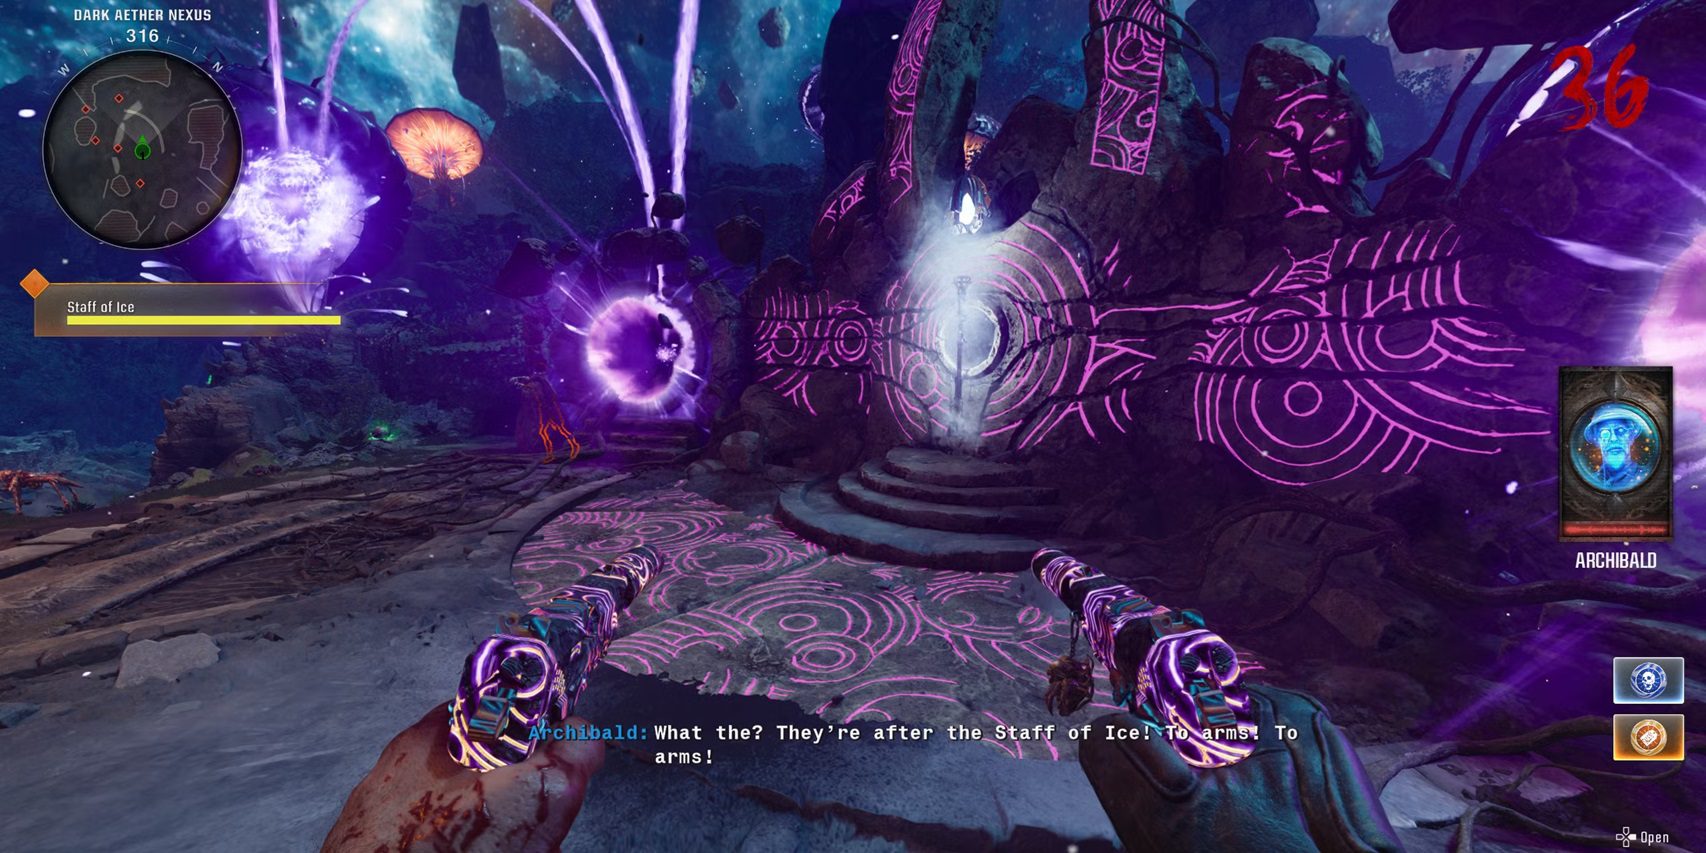
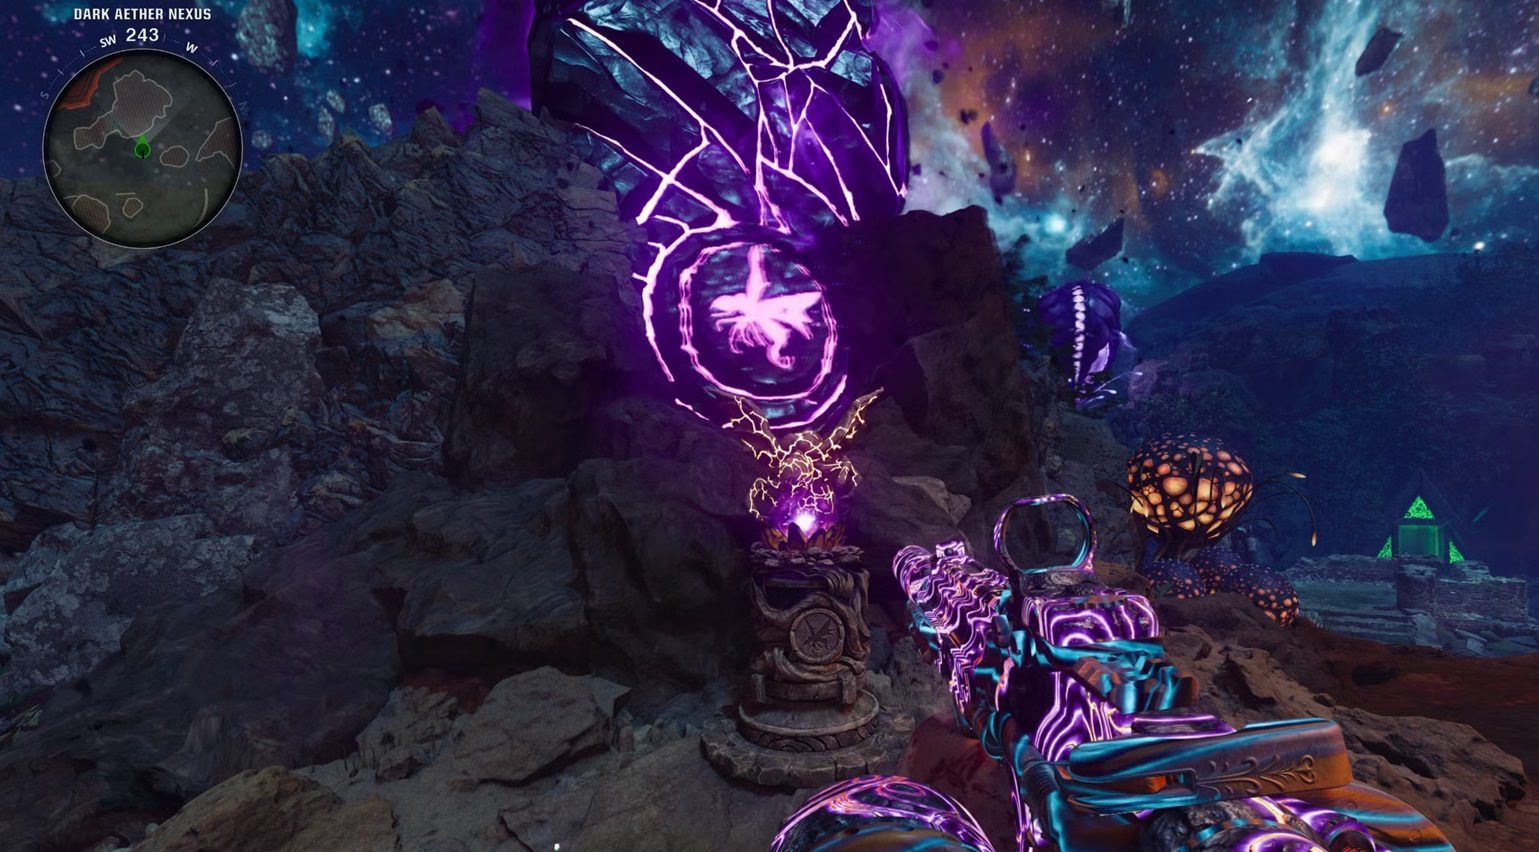
Once you have crafted the Ice Staff, you will need to upgrade it. In order to upgrade the Ice Staff, you will need to search the map for three glowing lanterns and shoot them until they are within close proximity to one another. Once all three lanterns are nearby, you will need to shoot all three within 10 seconds with the Ice Staff; if you have done it successfully, Archibald will talk to you and indicate that you need to go to the Dark Aether. Once in the Dark Aether, you will see glowing rocks in the sky with different symbols on them. Shoot the rocks with your ice staff to cause them to lower. Once they are lowered, note what symbols are on each rock.
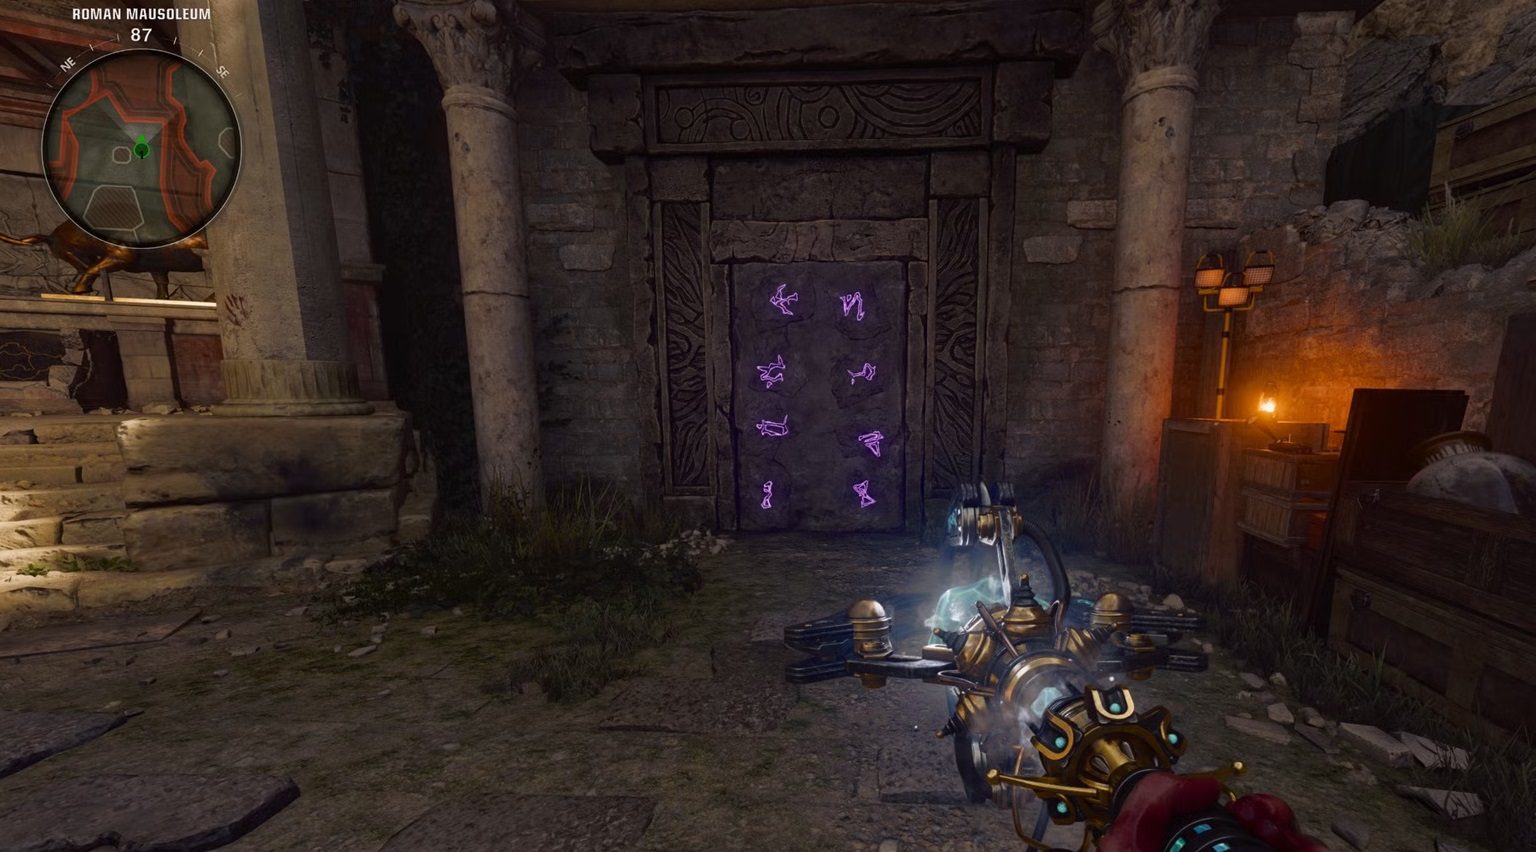
Head to the different portal doors. One of the portal doors will be closed, walk to the other side of it and you will eight different symbols. Shoot the same three symbols that you saw on the rocks on the door. If done successfully, the door will open teleporting you to a platform with a glowing orb. Interacting with the orb will initiate another lockdown. Follow the orb and kill zombies around it to charge the orb. Once the orb is fully charged follow it to the Ark and upgrade the Ice Staff.
Step 3 – Charging the Creature Statues
With the Ice Staff Upgraded, head to the Podium with a rock vermin on it and shoot it with the Alt Fire mode casting Healing Orb on it; doing so will make it glow. Interact with the podium to grab the Dark Energy and head to the Blue Portal that takes you back to spawn. In spawn, you will see that the vermin statue is glowing, so interact with it to give it the Dark Energy. Interacting with it will initiate another Lockdown spawning a ton of vermin. Interact with the statue again to grab the energy and proceed to run to a portal. Return back to the original podium and return the Dark energy completing that step.
Next look for the Parasyte statue. Do the same thing as before and run to the yellow portal (Stamina Up). Interact with the podium causing another charging sequence. Grab the purple orbs that drop from zombies and put them on the podium. Once it is fully charged, interact with it once again and proceed to run to a different portal door to turn in that energy.
Next, you will need to charge the Doppleghast Statue. Grab the energy and go to the green portal (Speed Cola). Find the podium and insert the energy. Doing so will cause Doppelghast to spawn. Avoid the lasers that spawn so you won’t take damage. Once it is fully charged grab it and return to the Dark Aether.
The last podium features an Amalgam, charge it and grab the energy. Head through the red door and down the steps to the next podium. This Amalgam will be a named zombie and have the ability to protect itself by stealing the energy from other zombies. Once finished, return the energy back to the original portal.
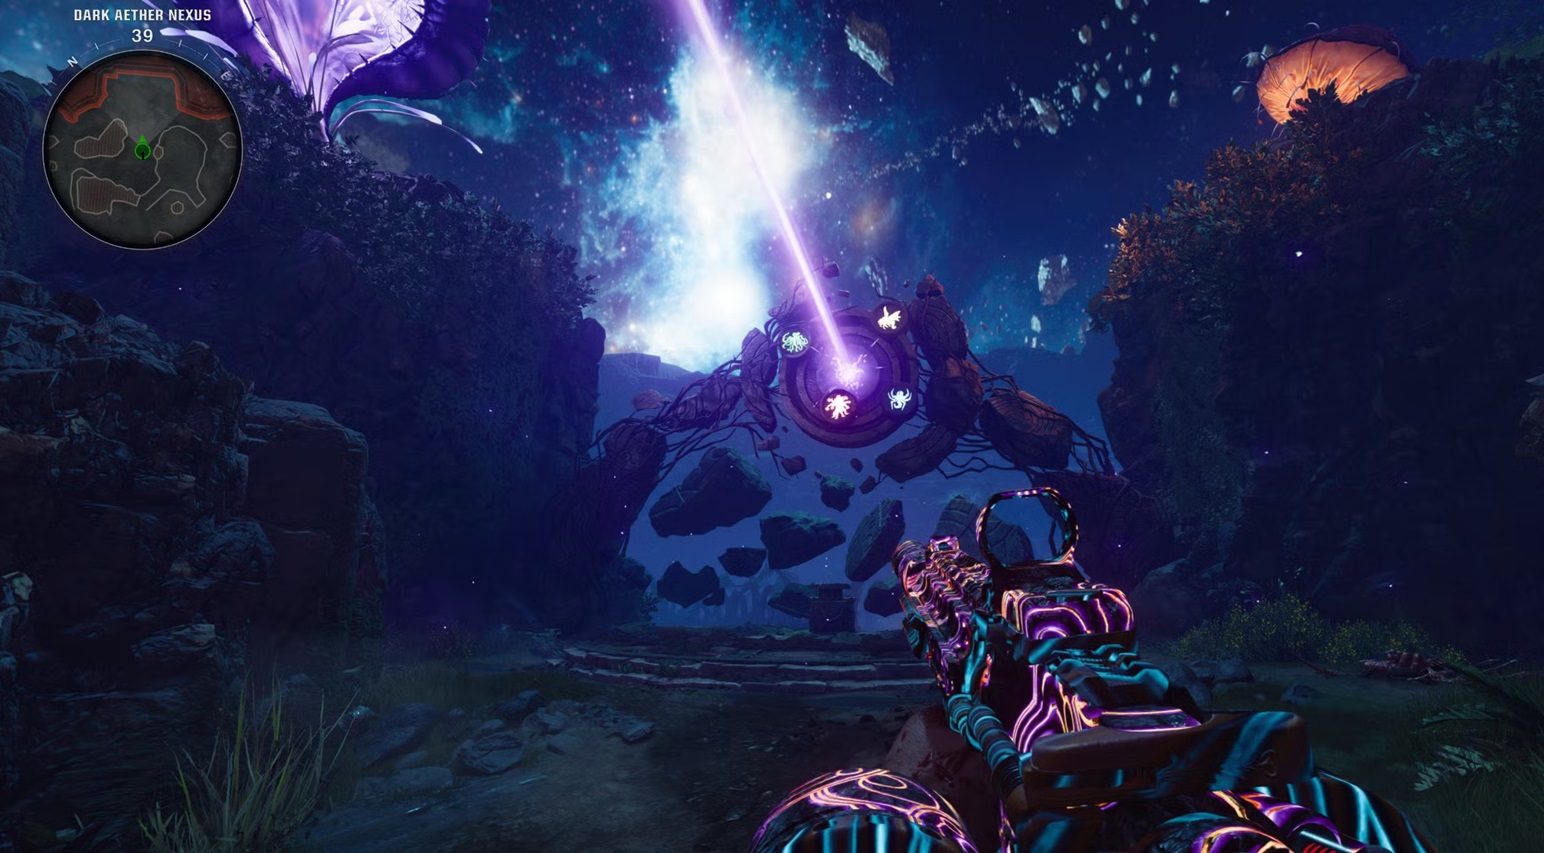
With all four statues charged, the four purple pillows will shoot out a laser toward the center and shoot at a rock cluster. Interact with the podium to create a bridge.
Boss Fight
Before you start The Tomb Boss fight, you will want to make sure that your weapons are upgraded and Pack-a-Punched, have helpful Gobblegums like Idle Eyes, and have a support item. In the center of the area, players will find the Sentinel Artifact. Interact with the Sentinal Artifact to start the Boss Fight. The artifact will turn orange and start to shoot a laser that moves around the arena; be careful because it will damage you if hit. Once the artifact turns purple, you will be able to shoot it. At first, it will look like you are not doing a lot of damage but after a good bit, it will break and deal out a chunk. After a bit of damage, it will turn orange once again and another copy of it will spawn shooting an additional laser.

After breaking the two artifact copies, there is a chance that an artifact will spawn on different zombies. You will need to kill those zombies in order to shatter that artifact. After the regular zombie, an artifact will be attached to a named Doppleghast. Destroy it again and move on. After dealing additional damage, you will need to kill a Shock Mimic and destroy the artifact that it is carrying. At this point, there will be multiple lasers shooting out of the artifacts, so you will need to be careful. After killing the shock Mimic and Damaging the artifacts, you will need to kill a special Amalgam. Kill that Amalgam and destroy that artifact.
Now with all the monsters dead, you will enter the final phase of the boss fight. This part of the fight can result in being downed or dying if done incorrectly. All the artifacts will channel a beam pushing another artifact into a hole in the wall. At this point, you need to deal as much damage as possible to that artifact. If you deal enough, the artifact will be finished; if you fail to do enough damage, you will go down. Once you have killed it, the final cutscene will play.
Rewards
Now you have completed The Tomb Easter Egg.
